Bronzer 101

Bronzer is one of those products that I have a love/hate relationship with.
It is a gorgeous, beauty enhancing product, but everywhere you go you see it used and abused – more abused that any other product out there.
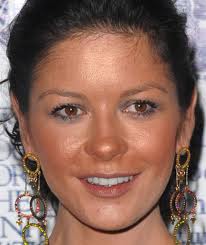
CZJ doesn’t normally get anything wrong. But this time? Um…

So today we are going to revisit bronzer, how to choose your formulation, how to choose your color, and how to apply it.

Scroll to the bottom of this post for a little “how to” segment from last year on SheKnowsTV, with the lovely Lisa Acquafredda.
(I forgot how much we used to laugh when we’d shoot together! Love her!)

Formulation:
These days you can get gels and creams, lotions and mousses – all kinds of different formulations of bronzing products. The problem with most of them is that they are too easy to get wrong, and when bronzer goes wrong, it goes very wrong.
So unless you are super good at application, stick with a bronzing powder.

Find your correct color.
If you have a pale skin you will look best in a bronzer with a rosy gold champagne undertone.
If you have a medium or olive complexion you will win with a golden copper undertone.
If you are a dark goddess look for something with a deeper red undertone.

A little shimmer can be beautiful, and really bring some light and life into the skin. Look for bronzers that have very small particles of shimmer. Basically if you can see and identify individual shimmer particles, they are too big, and your skin will look crazy shiny.

Application.
Don’t try to color your face in with bronzer. Its need to hit your skin where the sun would. Across the forehead, the top of the cheek bone and bridge of the nose, and the chin. You can run a little along the jawline too.
Think of doing a number 3 across forehead, cheekbone, nose and chin.
If your collarbones are visable, dust them too.

Your application should be light enough that you can see freckles through it.
 
The bronzers I showed in the segment are actually from my makeup kit. 
Here is the 411 of what was on the table.

On Lisa I used Guerlain’s amazing Terracotta Powder in shade 2.
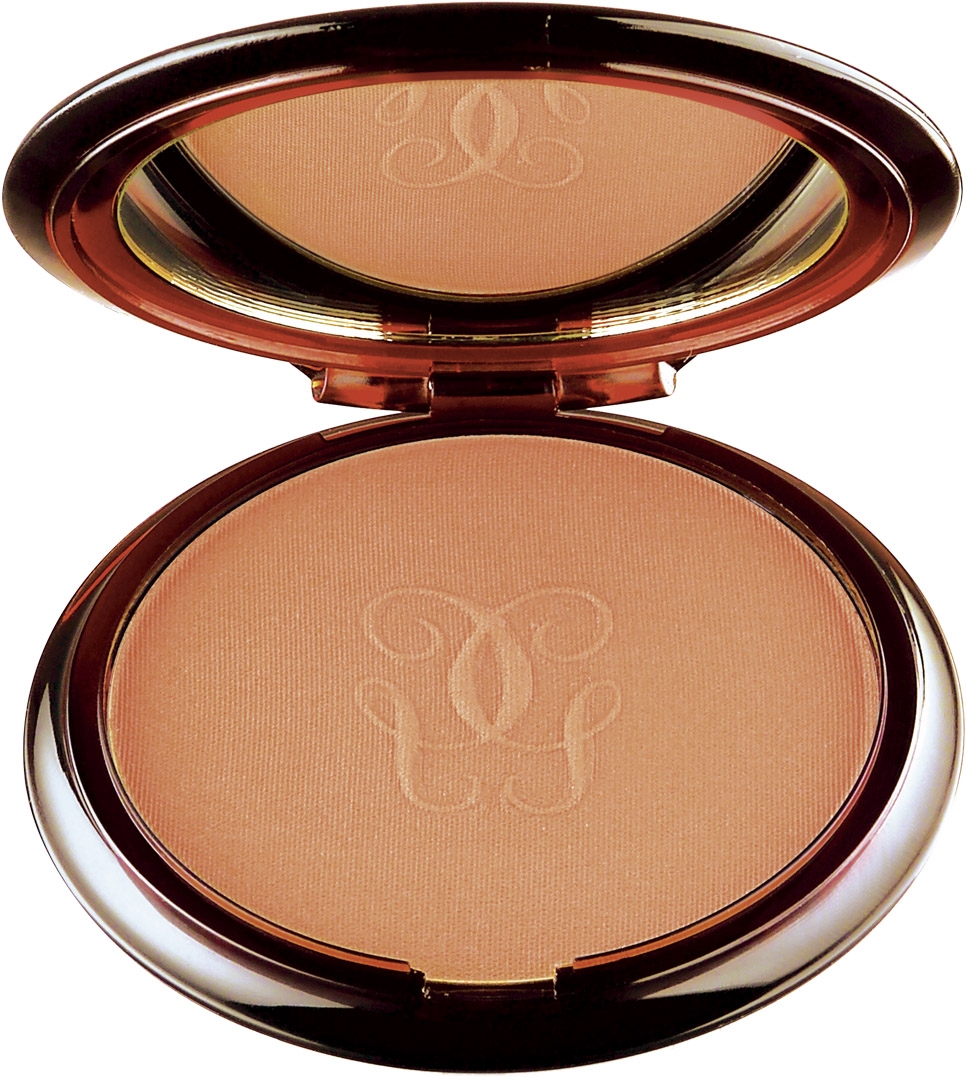
Beyond brilliant, this product is the benchmark for all bronzers. Guerlain first introduced the Terracotta powders in 1984, and they were the first bronzers on the market. To this day they are the biggest selling bronzer, with one unit selling somewhere in the world every 25 seconds!!
I love these because they give the warmth and luminosity of a natural tan. They also are moisturizing, long wearing and oil controlling.

Cargo Cosmetics Bronzer in Medium
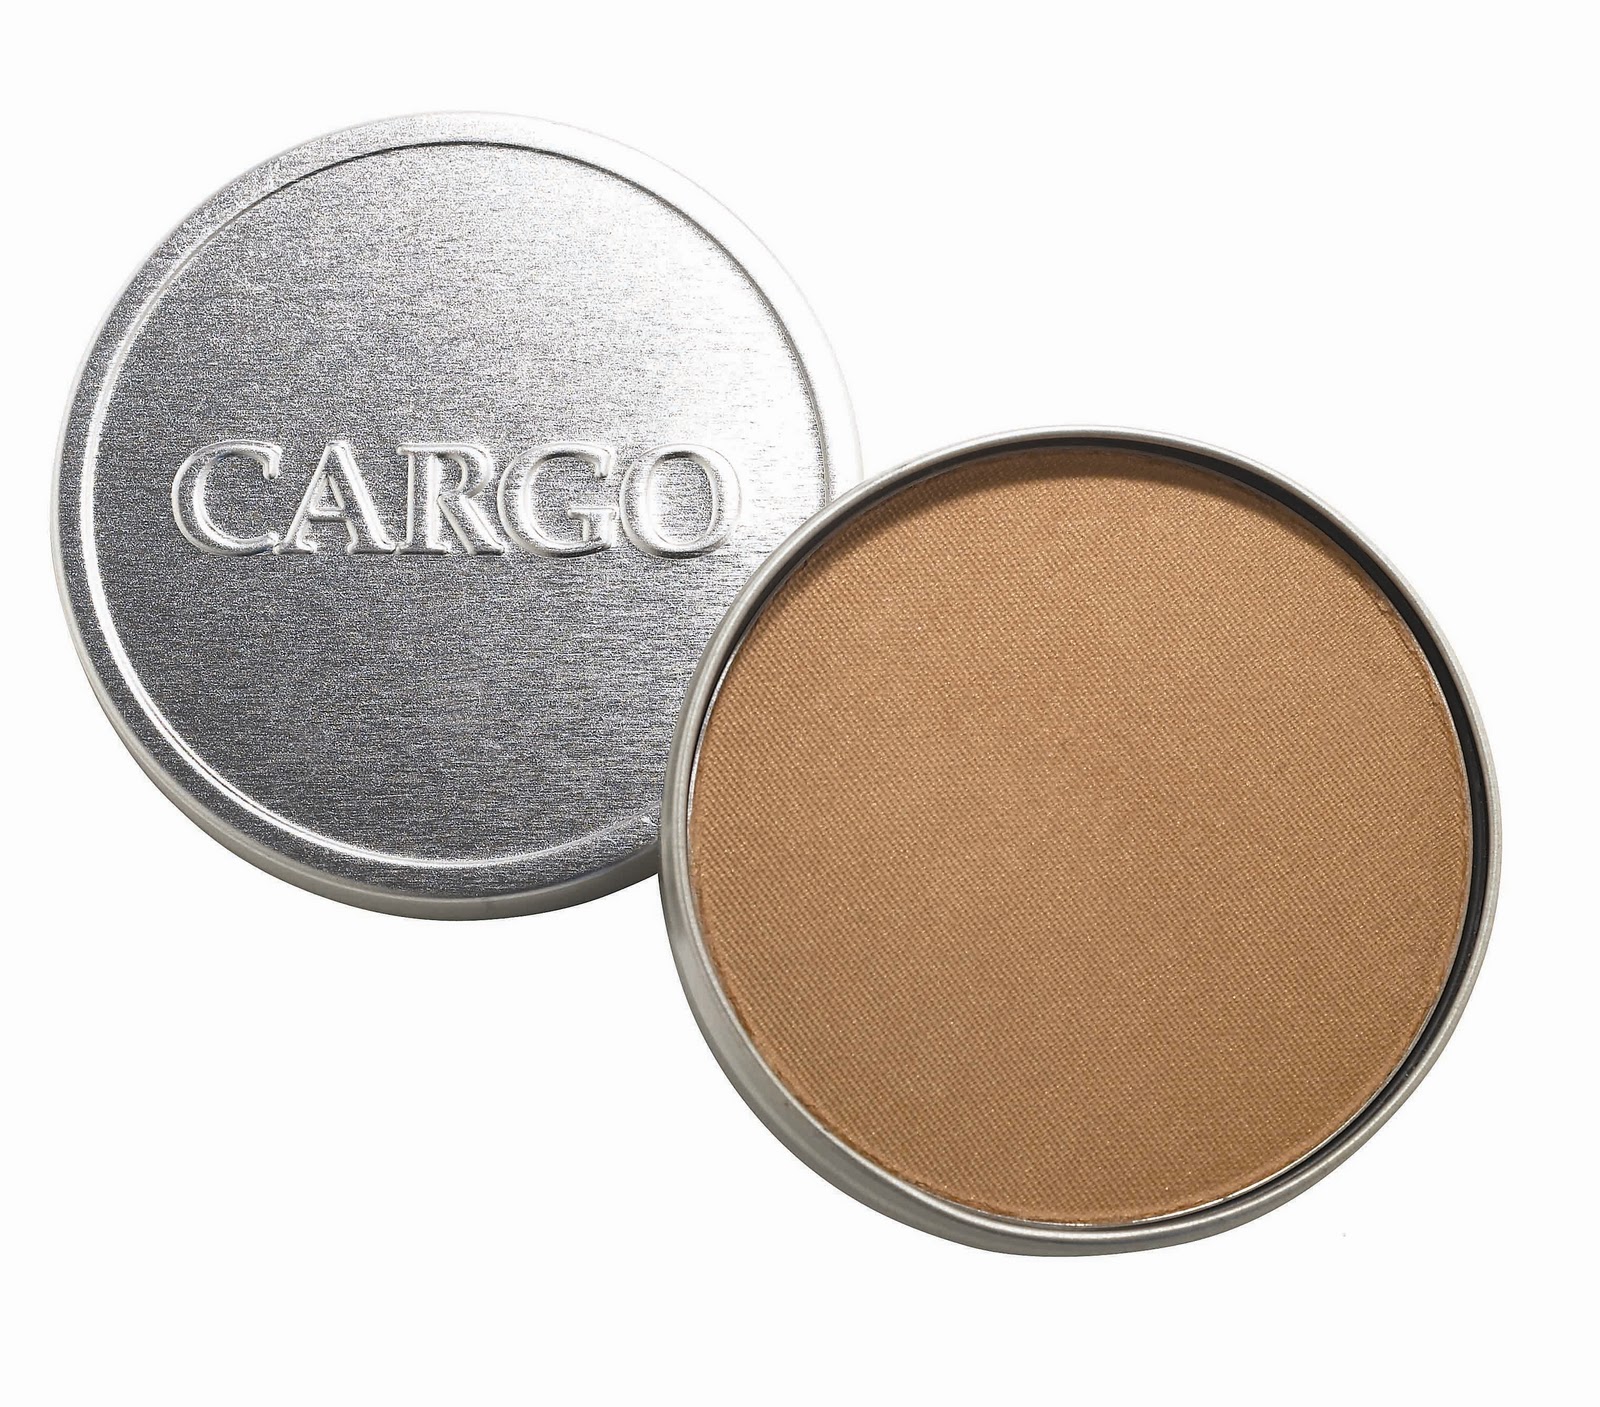
A staple in my kit and in my personal product arsenal. I love the subtle sun kissed glow it gives, slightly shimmery and sheer. This award winning bronzer avoids the overly yellow trap that many bronzers fall into. Totally gorgeous!

MakeUp Forever Bronzer

I am a huge advocate of Makeup Forever! Their products are amazing. On the table I showed their bronzer in shade #5, which has a lovely red undertone for my dark skinned girls. It comes in several shades, so no matter what your complexion is they have one for you.

 I recently got a new bronzer from H.Wood.Beauty in a shade called Dakota, which I am loving for paler skins.
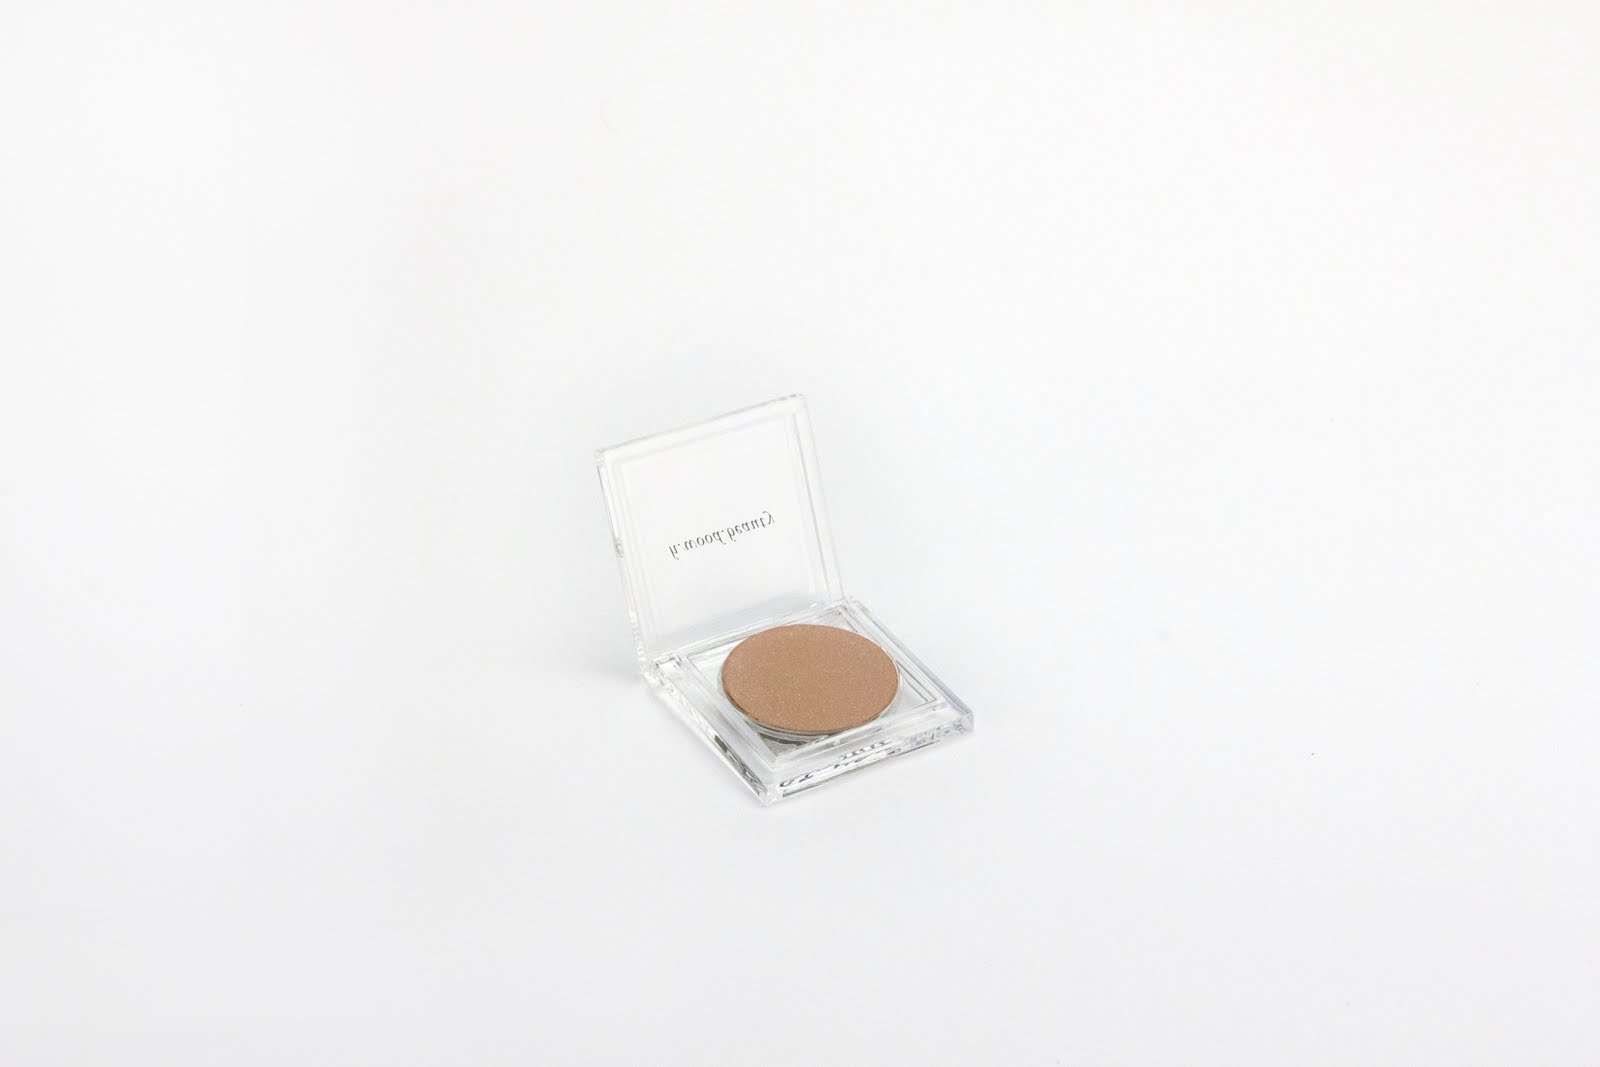
I also love LORAC’s baked bronzer

Oscars 2011 Red Carpet

My favorite, favorite event of the year!!
This year we saw some completely fabulous red carpet moments at the 2011 Academy Awards.
Here are a few of my absolute faves :

Best Actress winner the very lovely and very pregnant Natalie Portman in Rodarte

Jennifer Lawrence looked fresh, modern and sexy in a fire engine red Calvin Klein Collection

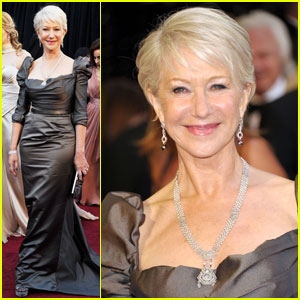
Helen Mirren gorgeous as always

image courtesy Just Jared

Most gorgeous couple Javier Bardem and Penelope Cruz (in L’Wren Scott)

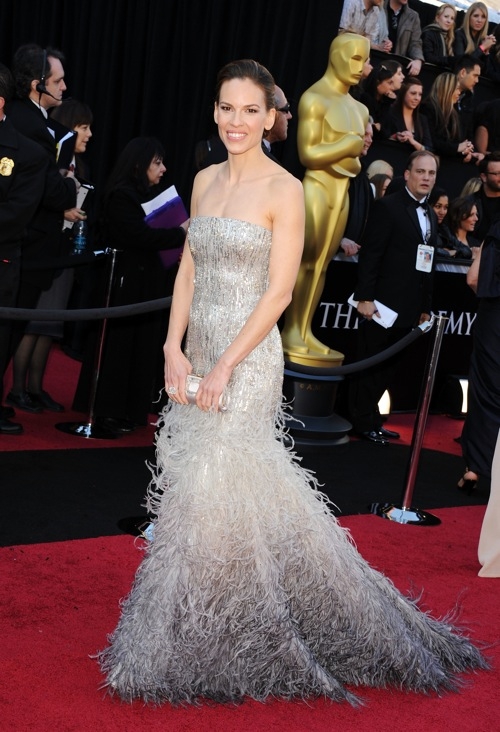
Hilary Swank in Gucci

Jennifer Hudson made Weight Watchers the ultimate winner of the night by looking like a million dollars in bright tangerine halter neck Atelier Versace

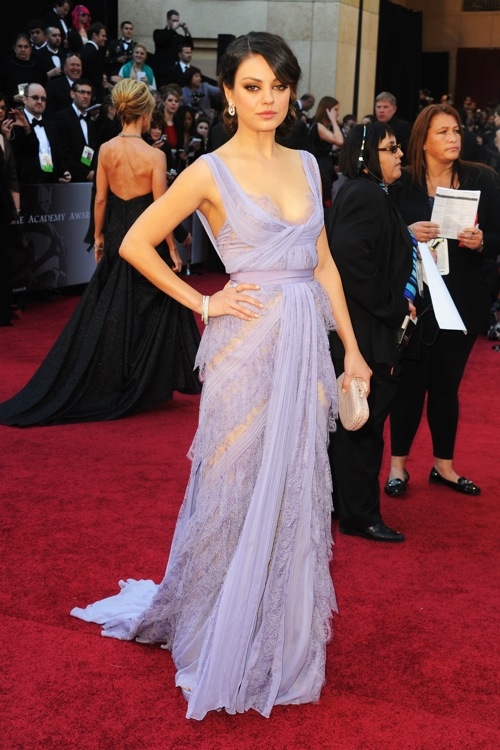
Mila Kunis in a plunging lavender lace Elie Saab Haute Couture gown.
The anorexic back lady behind her should have either eaten a plate of pancakes dripped in syrup, or covered her back.
Why do people think that’s attractive???

Michelle Williams was a study in simple perfection, in a short sleeved, beaded Chanel Haute Couture

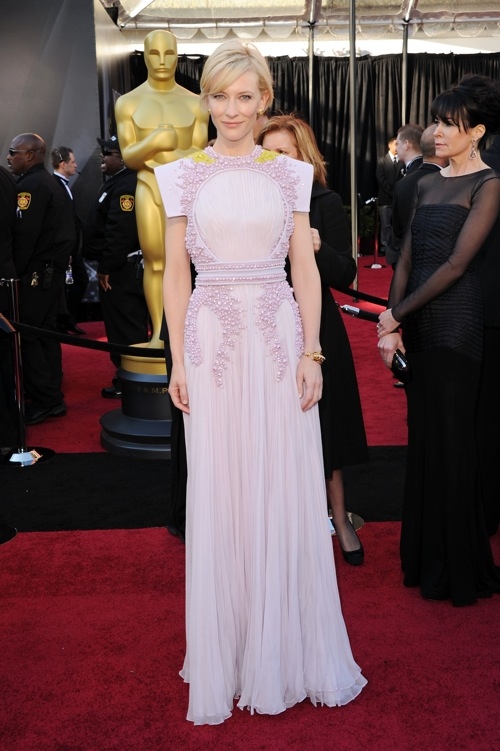
Cate Blanchett always at the very forefront of fashion,
this time in Givenchy Haute Couture.

Her hair and makeup were completely lovely too


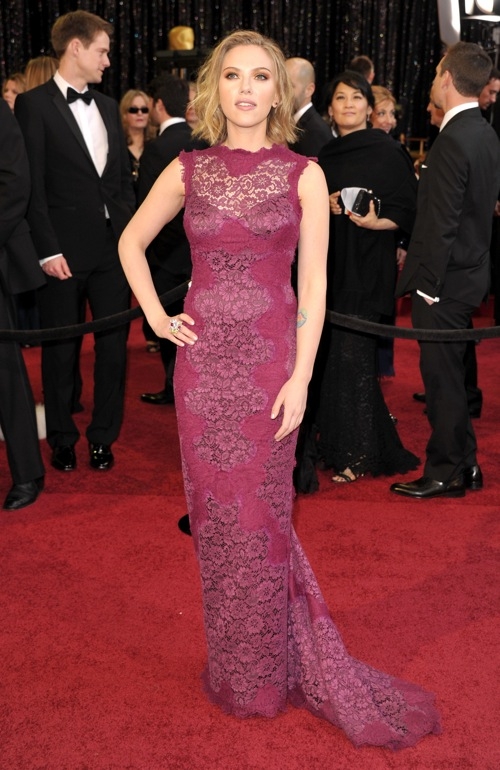
Scarlett Johansson, spectacular in a deep burgundy custom lace Dolce &Gabbana

 Best hair had to be Reese Witherspoon, wearing a high pony, which completely out shone her Giorgio Armani Prive dress

7 Steps To Fabulous (in 7 Minutes!)

So the other morning I was sitting here at my computer working on a beauty article for a magazine, (and I should add here that that means me in all my glory with no makeup on, hair up in a pony, and resplendent in sweats) when I got one of those calls you get as a freelancer – another artist had had an emergency, and could I cover for her on this huge job? “Oh and by the way, you have to be there in just over an hour, you’ll be on your feet for 8 hours, look sharp in black, and, um, you have to look really glamorous!”

Of course it couldn’t be one of those jobs where you’re in a makeup room, wearing jeans and some cool hat to hide the lack of makeup and the bad hair day

If I spent just under 5 minutes getting dressed (thankfully I had showered!), 10 minutes on the hairdo, that would only leave me 10 minutes to whip out a super glam makeup, that had to last at least 8 to 10 hours.

No  problem.

So after I panicked for 3 minutes, I pulled myself back together and had only 7 minutes remaining to get the face in order. As I was putting the high speed makeup on I figured I wasn’t the only girl to have to put on makeup on the run, and got to thinking maybe some girls in bloggy-land would enjoy the highspeed menu.

So here are 7 Steps To Fabulous in 7 Minutes

Step One: The perfect base.
The most important part of makeup is having your complexion look even and clear, so you don’t want to scrimp on this step.I’m not a fan of only dotting it where you think you need it – always looks patchy to me.

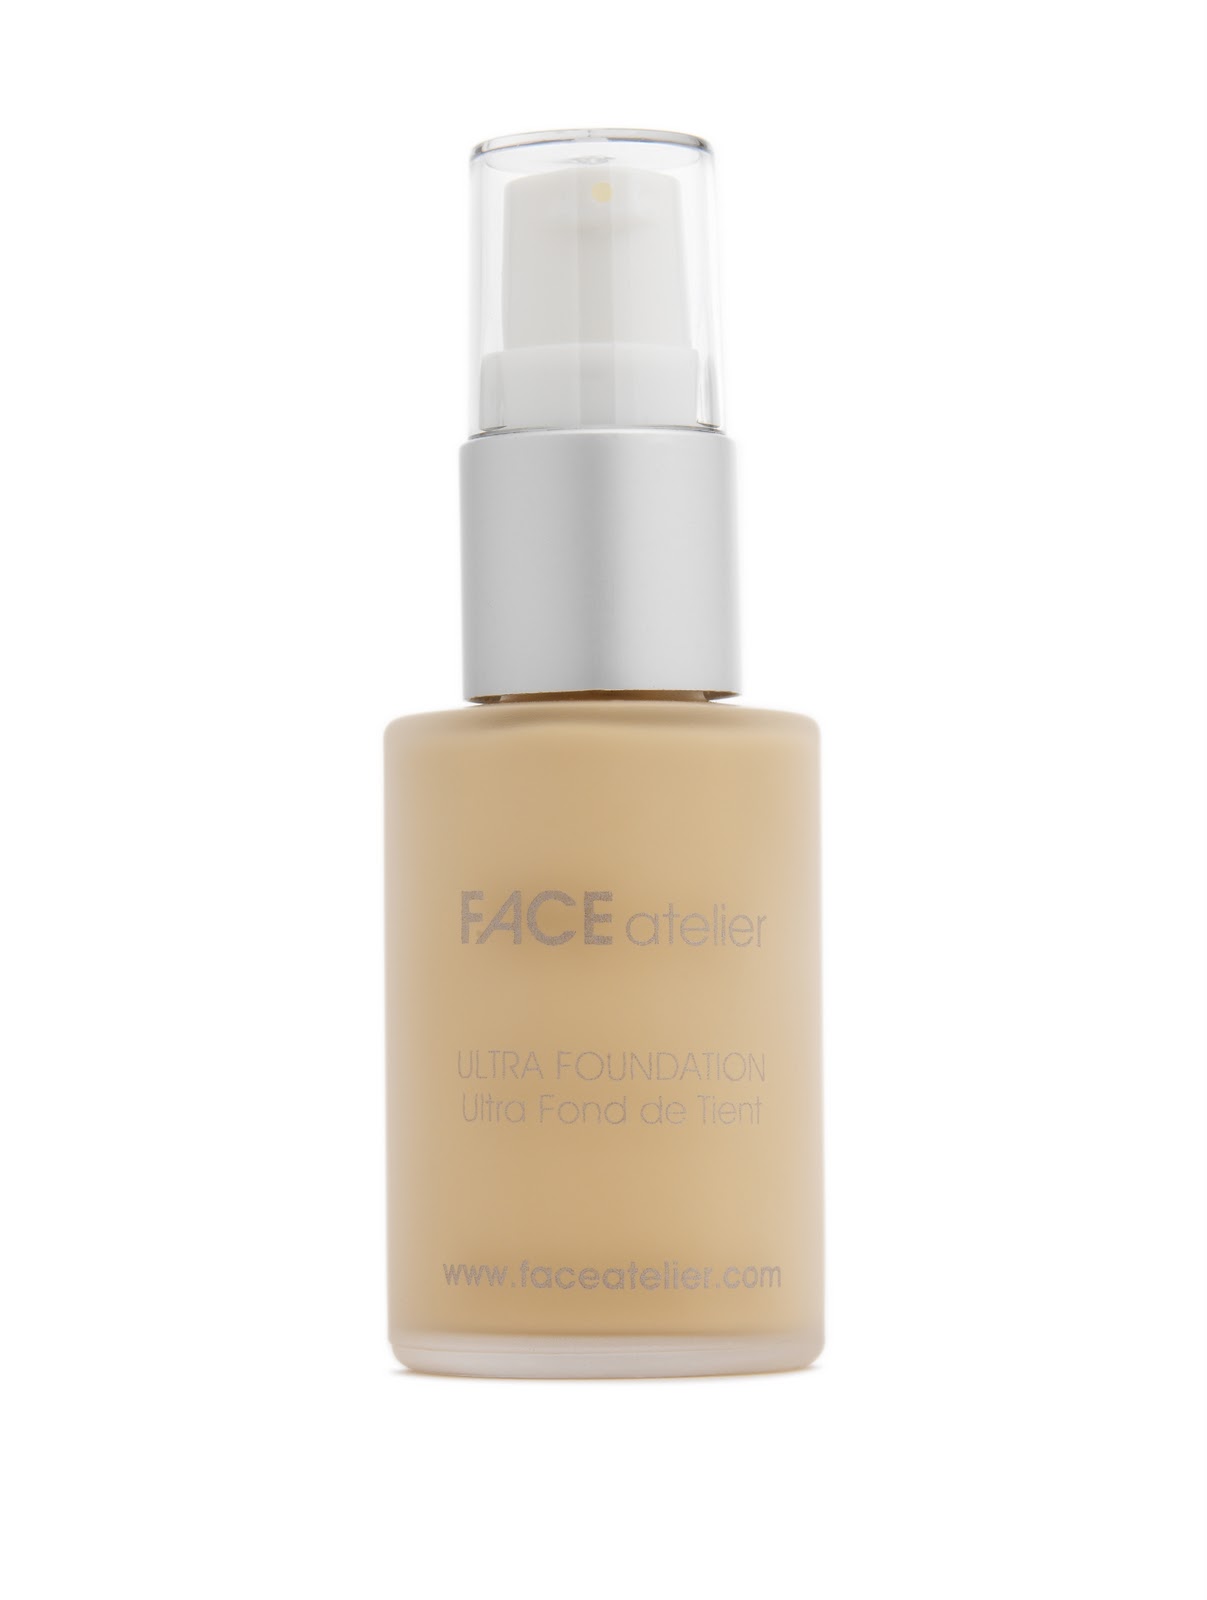
Use a really good silicone based foundation, 
(I use FACE Atelier Ultra Foundation, and absolutely swear by it) Silicone based foundation will give you sensational coverage and make your skin look luminous and radiant, which in and of itself is a great diversion. I applied it with my fingers, working in a little more where I needed some extra lovin. If you let it breathe for a moment, the FACE Atelier Ultra foundation needs little to no powder, which saves you a step.

Step Two: Cream Blush
While my base was setting I applied cream blush with my fingers (think speedy), rolling it over my cheek bones and slightly onto the apples of my cheeks. I use Snapdragon by h.wood.beauty. Not only does this one make your skin look alive and lovely, but the blush lasts all day and night, and the color is gorgeous.
(At this point I blew through with a tiny bit of powder where needed)

Step Three: Brows
Never leave the house without your brows on! Grooming your brows and then running some shadow through them with a brow brush only takes a couple of moments, but it completes any look.
I went a shade or two darker than normal (not black!), as the extra accent on the brow is a great trick to divert attention from the bits you don’t have time for. And it can look really fabulous.

Megan Fox wearing accented eyebrows and bright lip

Step Four: Eyeliner
Take a slightly soft eyeliner pencil (soft texture smudges more easily. I used Smashbox Midnight Brown) and run it along your upper lashline and slightly up at the outer corner. Go back though and thicken the line so that its up onto the lid.
It looks crazy, but stay with me…

Step Five: Eye Shadow
With no time to do anything elaborate with eyeshadow, take a brush that has hair long enough to swirl, like the Chisel Fluff brush, and literally swirl a color that matched the liner ( I used a soft eggplant shade) through the liner and up over the lids, using small circular movements. What this does is give you extra depth at the lashline, then graduates color up over the lid, and above the crease, fading out all by itself. It needs no blending, and although it has accent, is very soft and lovely, giving you a slightly smoky eye.
Run a little of the shadow along the lower lashline with a taklon liner, working color just into the lower lashes. It will stay there all day and not move.

Step Six: Mascara!!

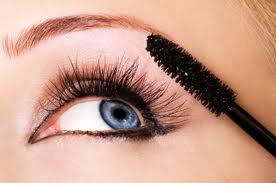
Create some giant lashes with DiorShow Blackout mascara. Big juicy lashes always look fantastic! If you need to look put together, well built lashes are a must. Just make sure there’s no clumping, and that your lashes look well separated (not stuck together).

Step Seven: Lips
With the stronger brow and big lashes, the last diversion is creating a big, bold lip.
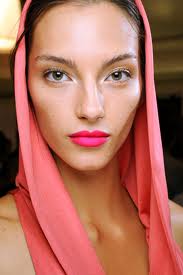
Red is too much work and way too much maintenance when you need speed, and dark shades will pull your whole look down, and can make your complexion look sickly, so go for one of the new season’s bright lips. I went for fuchsia. Bright, exciting, vivacious fuchsia. It makes you look alive and vibrant as well as very modern.

Fuchsia lips at Diane Von Furstenberg spring 2011

Try MAC Something New or Pat McGrath for Cover Girl Spellbound.

A final piece of advice: always keep a little black dress or killer pair of black pants laundered, pressed and ready to wear. You never know when you’ll need them… 🙂

Verified by ExactMetrics